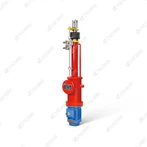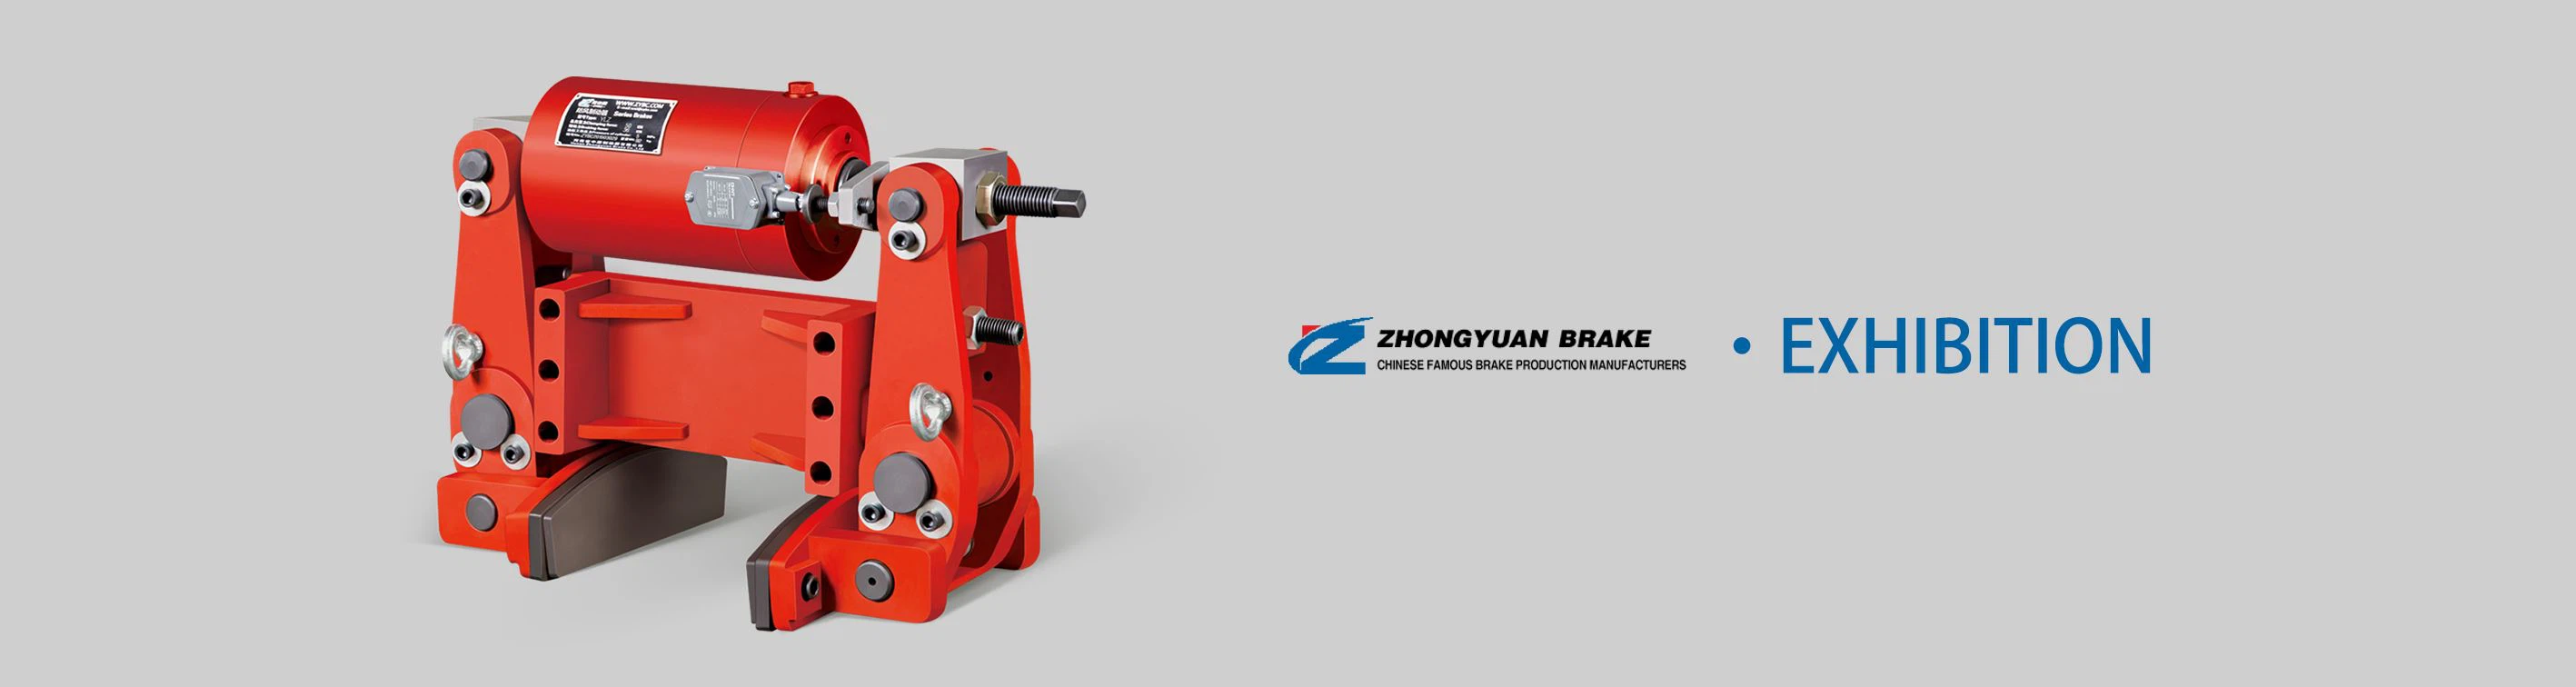
Maintaining the DCPZ15-315 series electromagnetic disc brake is critical to ensuring its stable performance, long service life, and fail-safe operation. Below is a tiered maintenance guide covering daily inspections, periodic maintenance, component replacement, and special condition handling:
1. Daily Inspection (Before Startup & After Shutdown)
Focus on quick checks to identify obvious faults and potential risks, taking 5–10 minutes per brake.
Mechanical Checks
Inspect the brake caliper, disc, and mounting bolts for looseness, deformation, or cracks. Tighten any loose bolts immediately (use a torque wrench to meet the manufacturer's specified torque, typically 25–40 N·m for M8–M12 bolts).
Check the manual release lever: Test if it can smoothly release and lock the brake (no jamming). Ensure the release mechanism resets automatically after use.
Clean the brake disc surface: Wipe off oil, dust, or debris with a dry cloth. Oil contamination on the disc or pads will drastically reduce braking force-use a degreaser if needed.
Electrical Checks
Inspect the DC power cable and connections for fraying, oxidation, or loose terminals. Ensure insulation is intact (no exposed wires).
Verify the coil's working status: After power-on, the electromagnet should pull in quietly without buzzing or overheating (surface temperature ≤60°C during normal operation).
2. Periodic Maintenance (Fixed Intervals)
Adjust intervals based on operating frequency (e.g., shorten cycles for high-frequency use: ≤600 cycles/h).
| Maintenance Cycle | Core Tasks | Details & Standards |
|---|---|---|
| 1 Month | Pad & Gap Check | - Measure the brake pad thickness: Replace if the friction material thickness is ≤2 mm (original thickness: ~8–10 mm).- Check the pad retraction gap: Ensure both sides are equal (0.3–0.5 mm). Adjust via the gap adjustment screw if uneven. |
| 3 Months | Lubrication & Fastener Tightening | - Lubricate self-lubricating bearings at hinge points: Use high-temperature lithium-based grease (avoid over-greasing to prevent dust adhesion).- Re-tighten all mounting and caliper bolts (check for thread wear or corrosion). |
| 6 Months | Electrical System & Spring Inspection | - Test the coil insulation resistance with a megger: Must be ≥1 MΩ at room temperature (replace the coil if lower).- Inspect the braking spring for fatigue (no deformation or breakage). Test braking torque (use a torque tester to ensure it stays within 15–315 N·m, per the model's rating).- Clean the electromagnet core: Remove dust or rust to ensure smooth armature movement. |
| 12 Months | Comprehensive Overhaul | - Disassemble the caliper: Clean all internal components (pistons, guide rods) and check for wear or corrosion.- Replace seal rings (if equipped) to prevent dust/water ingress.- Resurface the brake disc if there are deep scratches (≥0.2 mm) or uneven wear (runout ≤0.1 mm). Replace the disc if deformation or cracks are found. |
3. Key Component Replacement Guidelines
Brake Pads (Most Common Replacement)
Signs to replace: Thickness ≤2 mm, uneven wear, or cracking of the friction material.
Replacement steps:
Power off and use the manual release lever to open the caliper.
Remove the pad retaining clips (no need to disassemble the entire caliper).
Install new non-asbestos pads (ensure they match the model's specifications) and reset the retaining clips.
Adjust the pad gap to 0.3–0.5 mm (equal on both sides) and test braking performance.
Electromagnetic Coil
Signs to replace: Insulation resistance <1 MΩ, continuous buzzing, overheating, or failure to release the brake.
Note: Replace with the same voltage rating (DC 110V/220V) and ensure the coil is fully seated in the caliper to avoid magnetic leakage.
Brake Disc
Signs to replace: Runout >0.1 mm, thickness reduction >20% of the original, or cracks.
Note: Ensure the new disc's diameter (180–360 mm) and thickness (10–16 mm) match the brake's requirements.
4. Maintenance for Special Operating Conditions
High-Dust Environments (Mining, Construction)
Increase daily cleaning frequency (wipe the disc and caliper 2–3 times per shift).
Install dust covers on the electromagnet and guide rods to prevent dust ingress.
Shorten the 3-month lubrication cycle to 1 month.
High-Temperature Environments (Metallurgy, Foundries)
Use high-temperature brake pads (metal-based friction materials) and replace the coil with a Class F insulation rating.
Check the disc for thermal deformation weekly (runout test).
Outdoor/Corrosive Environments (Ports, Chemical Plants)
Use anti-corrosion treated components (galvanized caliper, stainless steel bolts).
Apply anti-rust oil to the disc surface every 1–2 months.
Inspect electrical connections for corrosion monthly (replace oxidized terminals immediately).
5. Common Faults & Maintenance Fixes
| Fault | Possible Cause | Maintenance Solution |
|---|---|---|
| Weak braking force | Oil contamination on pads/disc, worn pads, or uneven gap | Clean pads/disc with degreaser; replace worn pads; adjust gap to 0.3–0.5 mm (equal sides). |
| Brake drag (disc overheats) | Stuck guide rods, uneven gap, or coil failure to release | Lubricate guide rods; re-adjust gap; test coil (replace if faulty). |
| Electromagnet buzzing | Loose core, coil damage, or low voltage | Tighten core fasteners; test coil insulation; check DC power supply (ensure voltage is within ±10% of rated). |
| Manual release failure | Rusty release lever or jammed caliper | Lubricate the release mechanism; disassemble and clean the caliper. |
6. Post-Maintenance Verification
After any maintenance or replacement, perform the following tests to confirm normal operation:
Power-on release test: The brake should release completely within 0.4 s, with no contact between pads and disc.
Power-off braking test: The brake should clamp the disc immediately, with stable braking torque (no slipping).
Continuous operation test: Run at 50% of the rated frequency (≤300 cycles/h) for 30 minutes; check for overheating, abnormal noise, or torque drop.